Available as part of the July 2017 release, Tourwriter Packages enable you to set up your favourite combinations of Booking Items as a package, then drag and drop those bookings into as many new Itineraries as you like. You can also use Packages to combine two previous client trips into one for new enquiries, and pre-package your own tours and sell them at a different Gross Price than if they were booked separately.
The following post will take you through how to set up a Package, how to add it into another Itinerary, and how it will look in your client’s Itinerary.
Creating a New Package
We recommend creating a new folder in the Itineraries Menu for your Packages, to keep them separate from your client quotations, bookings and itinerary templates.
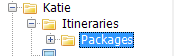
Create a Package in the same way you create an itinerary; right-click on the folder to add a New Itinerary, and fill in the following areas:
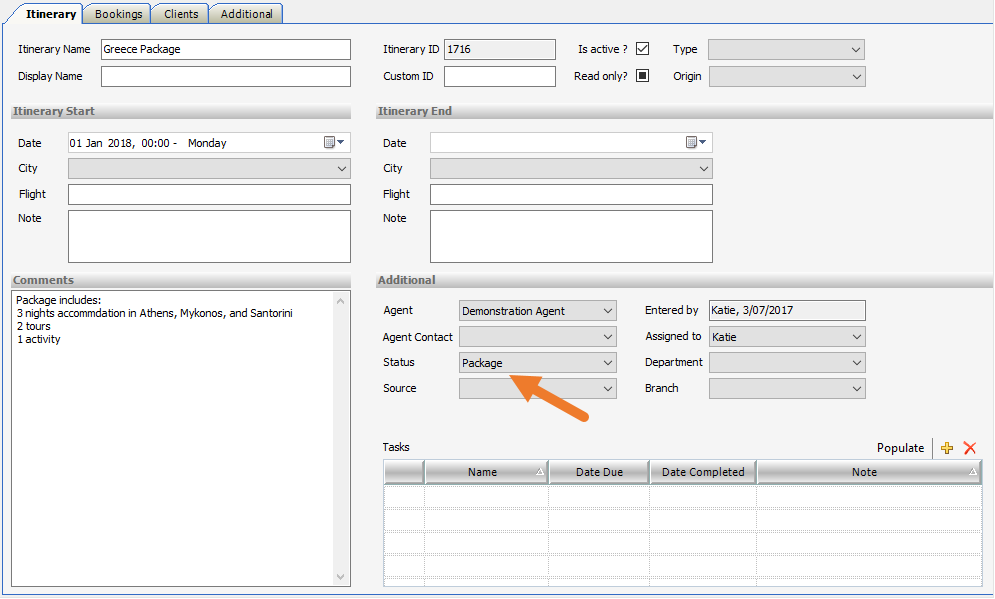
- Itinerary Name: name your Package. This will be shown in the new Itinerary as a way to identify that a Booking Item belongs to a Package.
- Itinerary Start Date: Apply any date. This will be automatically adjusted as you drop the Package into the client’s Itinerary. Rates will also be updated to match the required dates.
- Status: Set the Status as Package (to set this up, please see this post, about how to add another Status in Setup). We recommend setting the Status as Package so that its data can be filtered from any pricing or management reports.
Bookings List:
Add your bookings to the list in the usual way.
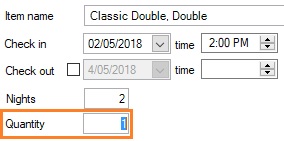
- Pricing Options: We recommend selecting your most commonly sold pricing option, as this will save you having to adjust it in the Client’s Itinerary.
- Quantities: There are two options for what Quantity to load, based on whether your database is enabled for Groups:
Not enabled for Groups – You can either create a Package based on your most commonly sold pricing options (e.g. a couple require 1 x Double Room and 2 x Day Cruises), and if the quantities are different in your client’s itinerary, update the quantities in the new Itinerary manually. Or, you may like to create a different Package for each quantity e.g. Greece Package 2 pax, Greece Package 3 pax etc.
Enabled for Groups – With Groups enabled, you will have assigned Options Types to your Pricing Options. We recommend that you set the Qty to ‘1’ for all Booking Items when creating your Package. In your clients’ itineraries, you can then use the Update Booking Quantities feature to instantly update your quantities based on the number of passengers travelling. - If you would like to sell these services at a different Gross Price than if they were booked separately, enter a Final Override. If not, leave this field blank; Tourwriter will add all bookings to the list as if they were booked separately.
- With the October 2017 release, you can now add any Booking, Voucher, Publishing or Private Notes to a booking in your Package itinerary. To do this, double click any item, select the Notes tab and enter your note into the fields provided. For more on this process, click here. Any Notes added to a Package itinerary will pull through into the Client’s Itinerary.
Using an Existing Itinerary as a Package
Packages can also be created by using an existing client Itinerary. Any Itinerary can simply be dragged and dropped from the folder it is stored in, to the new Itinerary’s Bookings List.
If you think you will reuse that Itinerary multiple times, you may like to create a copy of the Itinerary to access easily from your Packages folder. To do this, simply right-click the Itinerary in the Itineraries Menu, and select Copy. You can then right-click on your Packages folder and select Paste (copy) ![]() . Make sure to then adjust the Itinerary just like you would if creating a new Package (see above), e.g. Itinerary Name, Status, Pricing Options, Quantities and Final Overrides.
. Make sure to then adjust the Itinerary just like you would if creating a new Package (see above), e.g. Itinerary Name, Status, Pricing Options, Quantities and Final Overrides.
Adding a Package to an Itinerary
- Open your Client Itinerary and go to the Bookings List Tab.
- Locate the Package in the Itineraries Menu, then drag and drop the itinerary into the Bookings List/Workspace.
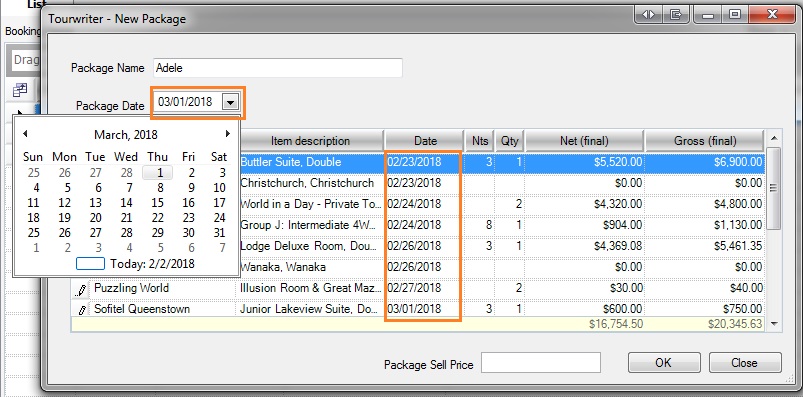
- The New Package Window will open. Here you can adjust the Package Name, Package Date, and amend in a Package Sell Price.
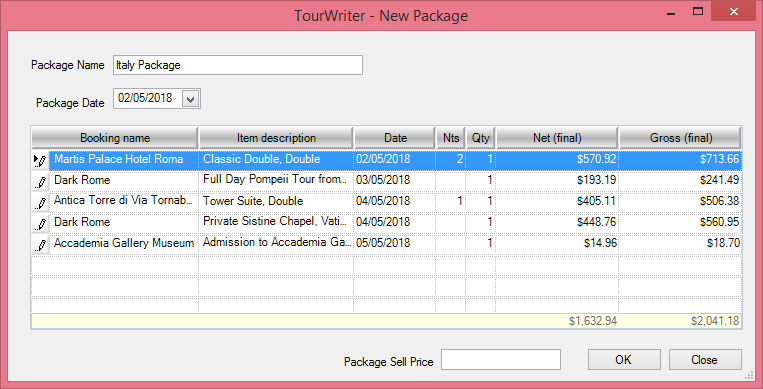
- Click OK. Booking Items will be added to the Itinerary.
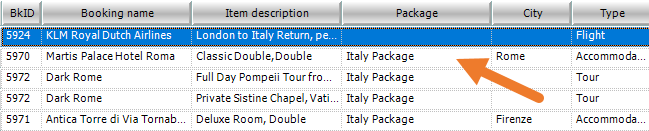
- Package Items can be identified by enabling the Package field from the Field Chooser.
- If a Package Sell Price has been entered in step 3, the difference between the Package Gross (final) total and the Package Sell Price will be apportioned to each booking item once added to the Bookings List. The Gross (final) price in the Bookings List will be updated accordingly. Enabling the Package Override field will allow you to see this.
- If Groups are enabled – Ensure the Clients Tab > Room Types table is updated with your pax information (for more information on how to do this please see Room Types). Then Update Quantities in the Tools drop-down menu on the Bookings List.
If Groups are not enabled – Simply click into the Qty field for each booking line, and adjust the Quantity to suit your Client’s requirements, or double click the booking line, to open the Bookings Window and adjust the Quantity:
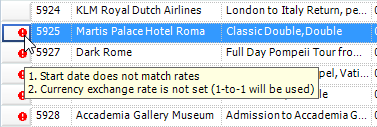
- If an Error symbol
 is showing, hover over the symbol to check the error. It is likely that the rates and/or currencies will require updating. Go to the Bookings List Tools drop-down menu to update. To check what an Error message means, see this post.
Deleting a Package
To delete a package from your Itinerary, simply right-click and select delete, or highlight a line in the package, and select the red cross ![]() in the top right corner. You will be prompted with a Message Pop-up asking for confirmation that you would like to delete the package.
in the top right corner. You will be prompted with a Message Pop-up asking for confirmation that you would like to delete the package.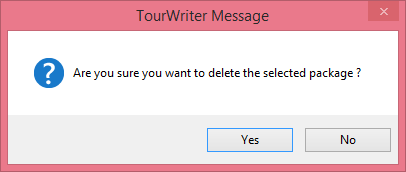
Each Booking Item of a package can now be deleted. Earlier you could only delete the entire package. You can now delete each Package booking item, one at a time, without affecting the other booking items.
There are three ways to delete a booking item from a package.
- Right-click to select the delete option.
- Right-click the booking item to select Edit or double-click the booking item to delete it. This feature allows you to view booking details in a view before deleting it.
- And finally, you can delete a booking item by clicking the
 sign at the top right corner.
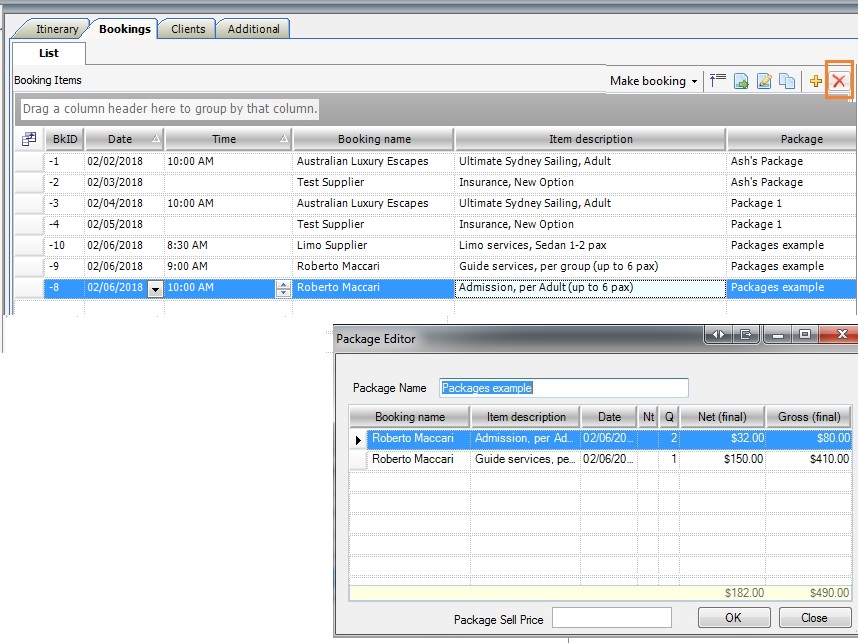
Deleting a booking item will open a new Package Editor window to list the remaining booking items present from the itinerary which had one of its booking item deleted.
Packages – Best Practices
- The start date of the itinerary added to the package can be edited to match the package start date. Changing the date in the Package Date field adjusts the booking dates for each booking item, keeping the duration and schedule of the itinerary intact. In the example below, changing the date in the Package Date field adjusts dates of all the booking items part of the itinerary. However, the itinerary duration remains the same.
- When you edit a booking item, fill the Notes tab in your itinerary with details prior to dragging it across to a Package. This way, the notes from the itinerary will be carried across to the Package. Your itinerary data from the Booking field, Voucher field, Publishing 1 & Publishing 2 field will also be seen in the package the itinerary is dropped in.

Editing a Package
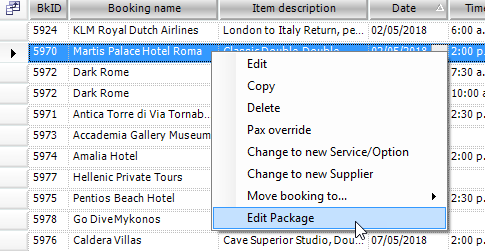
Right click a Booking line for one of the Package items and select Edit Package:
The Package Editor Window will open:
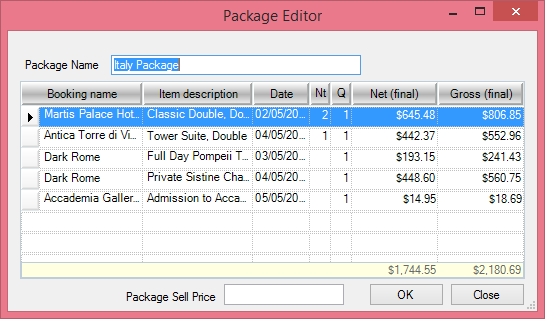
Here you can edit the Package Name and Overall Package Sell Price.
To edit a singular booking within the Package simply double click and adjust as usual.
Changing to new Service/Option or new Supplier
And don’t worry if you don’t want to include all the bookings from the package in your client’s itinerary. You still have the flexibility to swap one service for another, or change the Supplier completely using the Change to new Service or Supplier options.
Simply right click and select either Change to new Service/Option, or Change to new Supplier.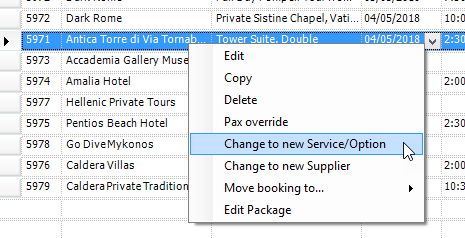
When you select either of these, the following Warning Message will check that you would like the continue. If you have added a Package Sell Price, that price will be kept.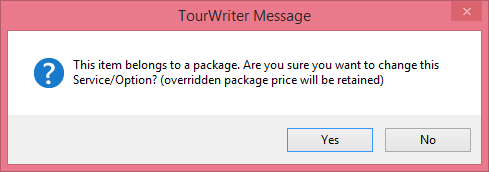
Bookings Emailer
When you are ready to book your Itinerary, simply go through the bookings process as normal.