How to Resize Images
Please find below instructions on how to resize images using the free software Irfanview:
We highly recommend creating a copy of all images for safe-keeping and putting them in a separate folder before following the steps below.
- Download the free software called IrfanView and IrfanView plugins (www.irfanview.com). Go to downloads page and Install the application
- In Irfanview Go to File (top left) and select Batch conversion/Rename
- In the Batch Conversion Window ‘Add’ the images you would like to resize or ‘Add all’. Images selected will appear as a list in the bottom window
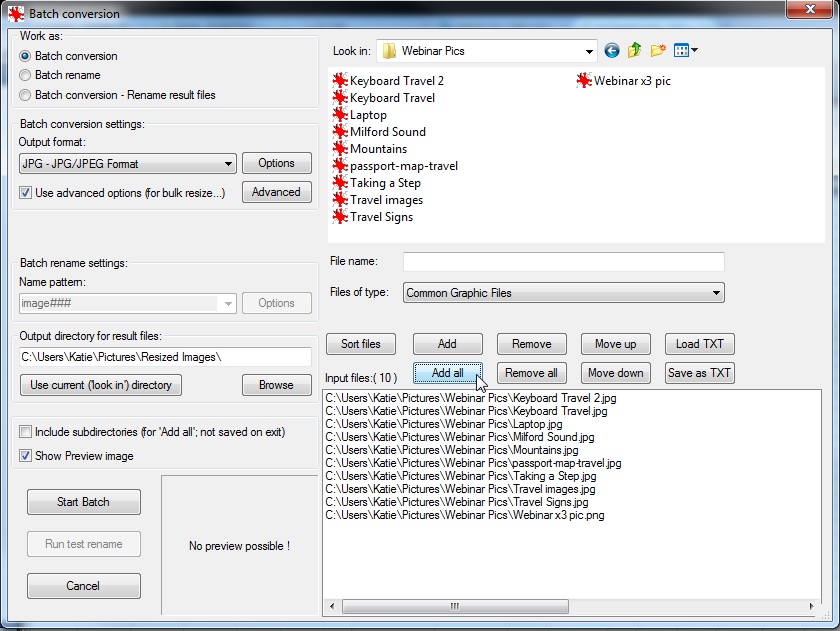
- Specify an Output Directory (on the left). A separate folder to the original so it is clear which folder holds the new resized images
- On the left, check ‘use advanced options (for bulk resize)’ and click ‘Advanced’
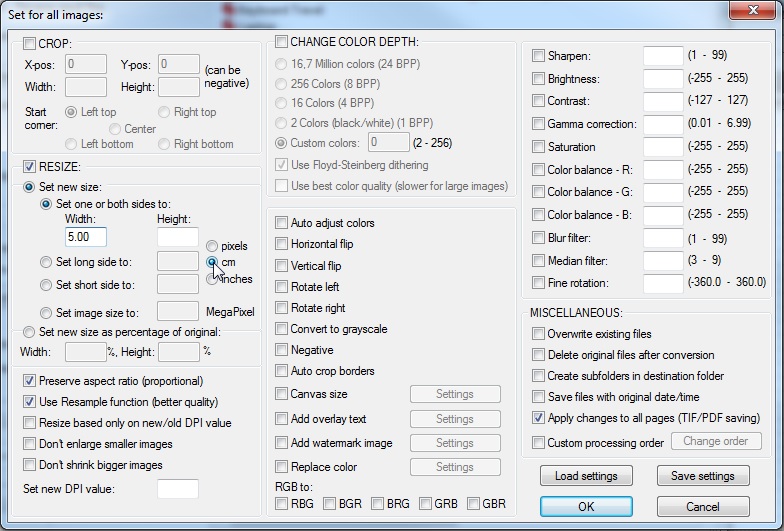
- On the Advanced options window go to the Resize section and chose the appropriate resize option eg 5 cm and then click OK
- Back in the Batch Conversion window, Click ‘Start batch’
- A batch conversion done window will appear indicating # Files, errors or Warnings
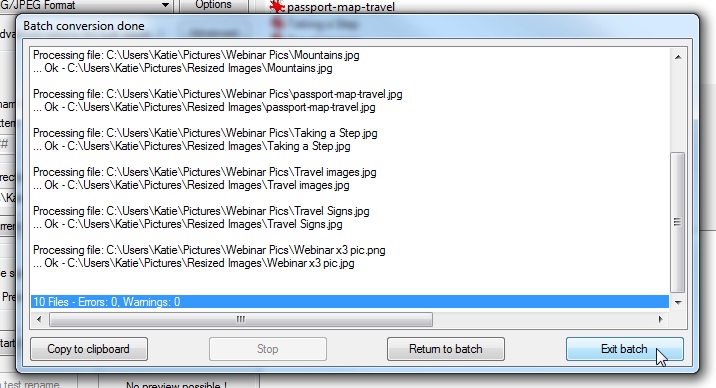
- Select ‘Exit batch’, you are Done!
- Now check the images in your selected output folder are the correct size, re file in the appropriate folder in your TourwriterData Folder before attaching to your Suppliers in your Database under Additional\Publishing Content\Images